OMO Setup
Set Up OMO Kids with Apple Family Sharing
Prepare both devices, separate Apple family roles from OMO roles, and check the complete learning-to-access cycle.
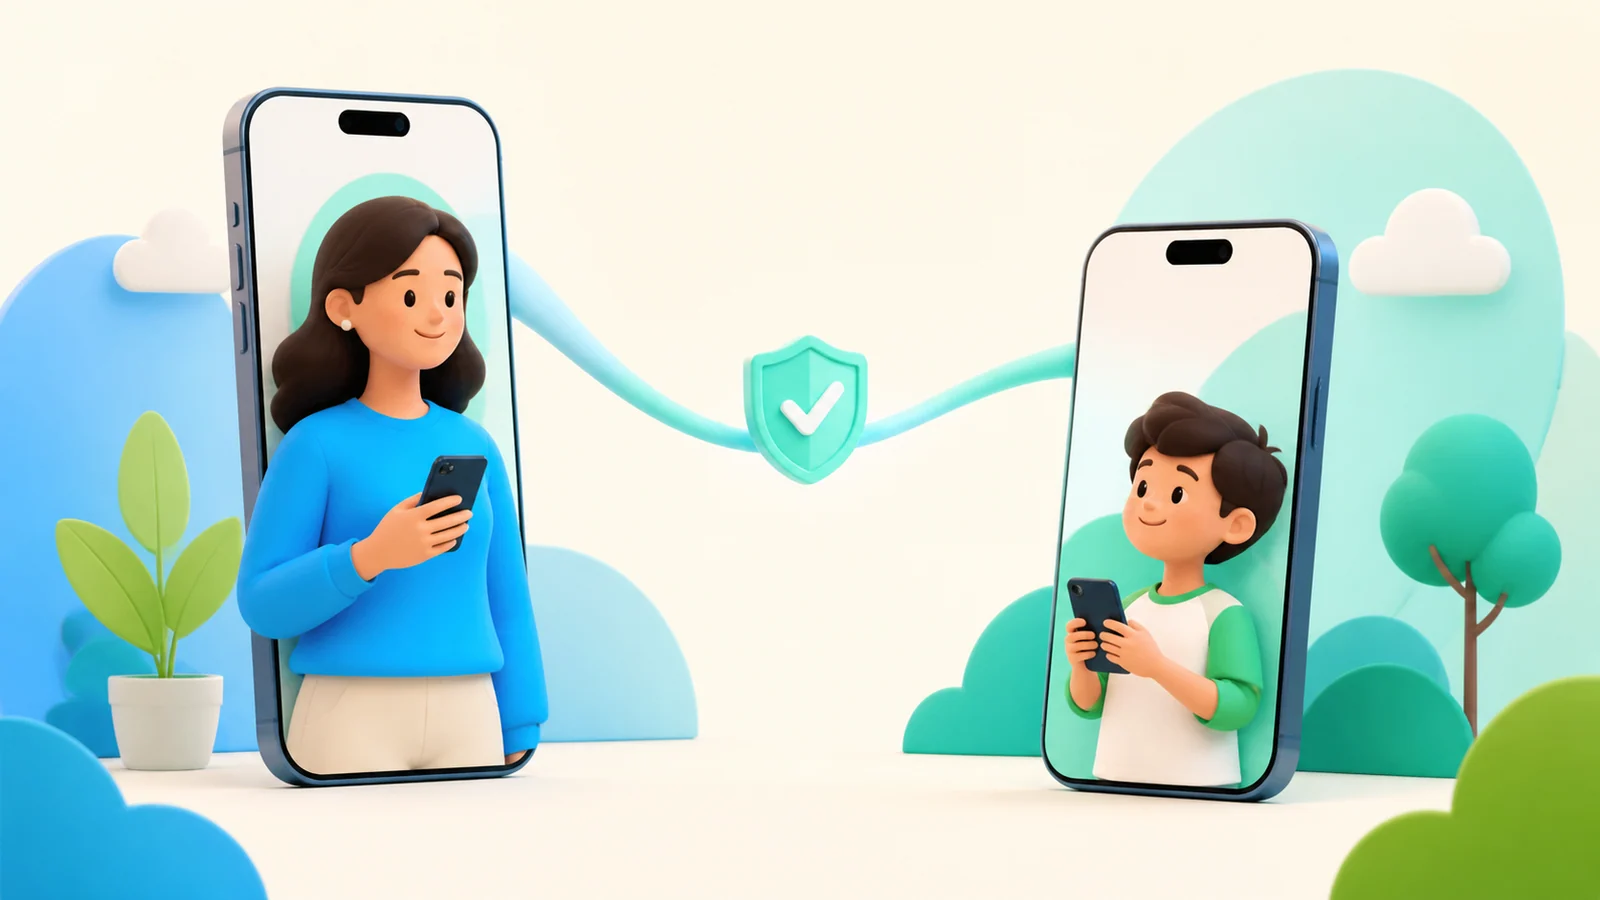
To set up OMO Kids, you need two supported iPhones or iPads, separate Apple Accounts for parent and child in the same Apple family, and OMO on both devices. Choose Parent in OMO on your device and Child on theirs. An eligible adult must also approve the Family Controls request on the child's device. These are separate steps; choosing Child in OMO does not create a child Apple Account. OMO setup requirements.
Keep both devices together for the first setup. Your finish line is a complete test: a selected app is restricted, a quiz earns access, the app opens, and the restriction returns when that access ends.
This guide is based on OMO's published requirements and Apple's documentation, checked September 15, 2026. The exact OMO screens can vary by app version; follow the linking and permission prompts shown on your devices.
Before you start
Have the following ready:
- Your iPhone or iPad and the device your child will use.
- A working internet connection on both.
- Your own Apple Account and your child's separate Apple Account.
- Access to the parent or guardian who can approve the system permission.
- One entertainment app to use for a small first test.
OMO's US App Store listing specifies iOS 17.6 or later for iPhone and iPadOS 17.6 or later for iPad. Check the listing on each device before installing. This guide covers the two-device iPhone/iPad setup; it does not establish support for other device combinations. OMO Kids in the App Store.
If your goal is simply a daily limit or a bedtime schedule, Apple's built-in parental controls may meet it without another app. OMO adds a learning-before-access condition. Apple parental controls.
1. Put the right Apple Accounts in one family
On your device, open Settings, tap your name, and open Family to begin Family Sharing if you have not set it up. If a family already exists, review its members instead of starting again.
There are two different next steps:
| What your child already has | What to do |
|---|---|
| Their own child Apple Account | In Settings → Family, use Add Member → Invite Others. Complete the invitation and check that it was accepted. |
| No Apple Account | Use the child-account creation process below. |
An invitation still waiting for acceptance is not a completed connection. Apple also uses a Parent/Guardian role for eligible adults in the family; the organizer can assign that role to an adult member. Apple's Family Sharing instructions.
Check before continuing: your child appears as a member of the intended Apple family, and the approving adult has the appropriate family role.
2. Confirm your child's own Apple Account
If your child needs an account, Apple's US instructions say a parent or guardian creates one for a child under 13. On the organizer's iPhone or iPad, open Settings → Family → Add Member → Create Child Account. Follow the prompts and use the child's correct birthday. Requirements can vary by location. Create an Apple Account for a child.
On your child's device, check the account shown in Settings. It should be the child's own account, not the parent's account shared across two devices.
If the birthday or account setup is wrong, use Apple's account guidance or Apple Support to correct it. Do not enter a false birthday to get past a permission message. Creating an OMO child profile will not change Apple's account records.
Check before continuing: the account signed in on the child's device is the same child account you added to the family.
3. Choose the OMO role on each device
Install the same OMO Kids app on both devices.
Open OMO on yours and choose Parent. Complete the parent setup shown in the app. On your child's device, choose Child.
Keep these distinctions clear:
| Item | What it does |
|---|---|
| Child Apple Account | Identifies the child to Apple. |
| Apple's Family Sharing group and adult role | Establish who belongs to the family and which adult can manage the child's setup. |
| Parent and Child in OMO | Tell OMO which app experience belongs on each device. |
| Linking the devices inside OMO | Connects the OMO setup for this parent and child. |
Follow OMO's linking instructions on both devices. If the app presents a code or another pairing step, complete the exact process shown there. Do not substitute an Apple password for an OMO pairing code.
The order of linking, permission, and app selection may vary in your installed version. Use the checks in this guide to confirm all three are finished.
4. Approve Family Controls on the child's device
When OMO requests Family Controls access, complete Apple's system approval on the child's device with a parent or guardian from the same Apple family. Follow the authentication request in the system dialog. Family Sharing membership alone does not grant this permission to every app. OMO requirements; Apple's explanation of Family Controls authorization.
If approval fails, return to the account and family checks before repeating the request. Confirm which Apple Account is signed in, which family it belongs to, and which adult is approving.
Do not treat a dismissed prompt as success. Return to OMO and look for its authorization status or next setup instruction.
Check before continuing: OMO reports that the needed permission is approved, rather than asking you to authorize again.
5. Select one app and finish the connection
When the system app picker appears during OMO setup, select the entertainment app you chose for the test. Confirm the selection and finish any remaining setup prompts. Keep essential communication and school tools out of this first experiment.
On your device, check that the intended child appears in OMO. If the name or device is unexpected, correct the connection before expanding the list of restricted apps.
A child appearing in the parent view is one useful check. It is not a substitute for opening the selected app on the child's device and seeing what actually happens.
6. Test the whole access cycle
Explain the test to your child first: you are checking the setup together. Use a moment when an unexpected interruption will not end a live game or school activity.
OMO describes a short quiz followed by temporary access and automatic re-locking. Use the time actually shown in your app; do not assume a fixed minutes-of-math to minutes-of-play formula. OMO feature description.
| Check | What to observe |
|---|---|
| Before earning access | Open the selected entertainment app. Confirm that OMO's restriction appears. |
| Learning task | Follow OMO's instruction to complete a short quiz. Note the access time displayed. |
| Access begins | Open the same entertainment app again and confirm that it is available. |
| Access ends | At the end of the displayed window, try that app again. Confirm that the restriction has returned. |
| Parent connection | Open the linked child's learning view on your device and check for the completed quiz activity. |
Do not stop after the first successful unlock. If access does not end as expected, the setup has not passed this test.
Before relying on the rule during a normal afternoon, repeat a small check after closing the entertainment app or leaving the device idle. Observe whether the access window continues; do not assume unused minutes are saved for later.
Also check any other route your child normally uses, including a browser or a second device. Restricting one installed app should not be taken as proof that every website or device is covered.
If a step does not work
| Symptom | Return to this check |
|---|---|
| OMO keeps asking for family permission | Child's signed-in Apple Account, accepted family membership, approving adult's role, and the result of the system prompt. |
| The wrong experience opens in OMO | Parent on your device; Child on theirs. |
| The child is missing from your OMO view | Finish the app's linking instructions and confirm both devices are online. |
| A selected app never becomes restricted | Confirm permission, the saved app selection, and the exact app on the child's device. |
| A quiz finishes but the app stays closed | Read the message shown. Check whether a separate Apple or service-level restriction is also in effect. Record which screen remains. |
| The app stays open after access should end | Record the displayed duration, start/end times, and device/app versions, then contact OMO support. |
For help, use OMO's contact page. A useful report describes the last successful step, what you expected next, and the exact message you saw. Share screenshots only after removing account details; never send passwords or pairing codes.
Make the first rule easy to understand
Once the technical cycle works, agree on which apps are included, when entertainment is available, how to ask for an exception, and when you will review the rule. A completed quiz does not have to override bedtime or the family's overall limit.
Use the family media plan to write down those boundaries. Start with a setup you and your child can explain, then expand it only after the first app reliably completes the full cycle.
Sources
We identify organizations and evidence types so readers can evaluate each claim. See our editorial policy.
- How to set up Family Sharing on your iPhone, iPad, or Mac - Apple Support — Apple Support.
- Create an Apple Account for your child - Apple Support — Apple Support.
- Set up parental controls to manage your child's iPhone or iPad - Apple Support — Apple Support.
- Meet the Screen Time API - WWDC21 - Videos - Apple Developer — Apple Developer.
- OMO Kids: Earn Screen Time App - App Store — apps.apple.com.